You Can Do It at Home Alone! 9 Simple Practice Methods
11 30, 2020
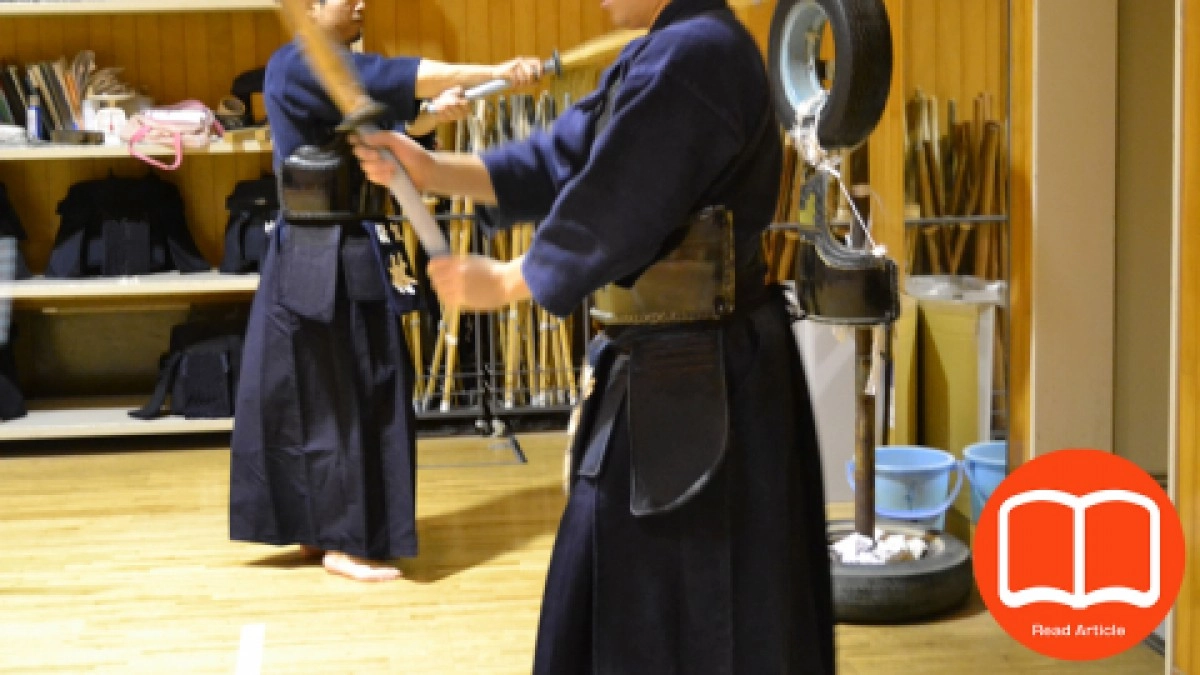
You might be thinking that kendo is a sport that strictly requires chest plate, uniform, and protective gears. Isn’t this the reason why you think ‘It’s not something we could do anywhere other than the court?’
In fact, there are a few practice methods you can do at home or during your free time.
Now, we are going to introduce to you some of those practice methods that people who want to train at home or beginners who haven’t bought the protective gears could do.
Let’s get right into it!
Table of Contents
1.Simple Practice ‘The Footwork’
The very first thing a beginner learns is the footwork.
In kendo, placing the right foot in front and placing the left foot at the back is the utmost basic stance of all movements that follow. That is why mastering the footwork is the most basic requirement. Once you have become an experienced practitioner, footwork becomes something you don’t practice separately. However, in order to acquire a good movement and the skill to quickly react to the fast opponent’s movement, you have to have a good footwork.
Let’s not overlook it, because it’s something basic. Instead, let’s be more aggressive in getting the next practice method into your training session.
Practice 1: Lunging Squat
This is a practice that will allow you to increase your stride a little further than usual. When you are able to lunge your step further, you will be able to step forward before the opponent closes in on you and execute a skill.
Method
First, begin with the ‘basic stance’ where you right foot is placed in front and your left foot is placed at the back. Then, maintain the left foot’s position while making an extra step forward with your right foot. Once you are done, use a tape to mark the point where the end of your right heel lands. Your goal then will be to make a bigger step forward to go beyond that line, the left foot stays.
When you are lunging your right foot forward, try to avoid your upper body from leaning downward, but maintain the straight posture as if you are walking on a flat surface. Your right knee must bend naturally as if you are doing a squat. Do 15 sets of this. After you are done mastering this move, adding a swing to it and practicing them in a set will double the effect.
Practice 2: Walking Without Your Heels Touching the Ground
In kendo, we try to lift our heels off the ground. You could try walking like this in your daily life. This doesn’t mean you have to tiptoe. Just lift your heels by a sheet of paper to about 5mm off the ground and this will train your body. If your body is trained like this, you will be able to execute the next skill right away even after you collide with the opponent, because your upper body will stay firm in position.
Method
When you walk, lift your heels by about 5mm off the ground. You will forget about it if you don’t keep your consciousness on this practice, so it’s good to do it whenever you remember it. Do the same as you go up the stairs. Your body will move in the beginning, but try to keep it firm as possible. If you strengthen your center abdominal, it will be easier to keep the balance and walking will be a lot easier.
Practice 3: Moving Back and Forth With Your Right and Left Legs Grazing Against Each Other
In a match, you not only move back and forth, but also left and right. You can easily lose your posture when doing the left and right footwork. If your posture is not maintained, you will leave a gap and the opponent will have the upper hand. That is why you should get used to walking back and forth and left and right with your legs going pass each other as if they are grazing against each other when they do.
Method
The basic stance in this practice is placing the right foot in front and placing the left foot at the back, but right behind the heel of the right foot. Then, widen up your legs sideways only enough to fit your fist in between the right and the left feet. Lift your right heel off the ground a little and also your left, but only as much as the thickness of a paper. Maintain this stance and do a set of back and forth and left to right walks. Repeat that 15~30 times.
You will notice if you try it, but left and right grazing walks is kind of hard. You should try to maintain your body balance, so that it won’t move.
2.Simple Practice ‘The Swing’
I’m pretty sure there are a lot of people who haven’t done this at home, because the kendo sword will touch the ceiling if they do.
Nevertheless, everyone still wants to practice the swings at home as well, so we are going to try the swinging method you can do in limited spaces to keep the training session as effective.
Practice 1: Crouch Swing
This time, we are going to make swings while crouching down. This requires more strength to be allocated in your arms than when you are doing it standing up, so this will be a good training for your arm muscles. If the shinai still touches the ceiling even while you are crouching down, grab the sword short to practice the swings.
Method
It’s a simple swinging practice while crouching down, but if your upper body is not stable, you body will lean backward. That is why you should try to maintain a straight upper body posture while you are making the swings. Also, when you are lifting up your sword, do it from the return position of the sword to further train your muscle power.
Practice 2: Left Arm Swing
This is a practice where you will be using only your left arm to swing while crouching down. In kendo basics, you are to swing the sword with your left arm as the base, while the right arm only acts as a guide through. Hence, if you practice the swings with only your left arm, you will be able to execute sharp strikes in the real matches.
Method
Crouch your body down and grab the sword with both of your arms, but only when you are getting to the starting position. After you have raised the sword, you will only be using your left arm. When you raise and lower your sword, the sword has to be in line with the center of your body. When you swing the sword down, make sure to stretch out your arm well.
Practice 3: Swinging With Only Three Fingers of Your Left Hand
This is an advanced version of Practice 2 and you are going to use only three fingers (pinky, ring finger, middle finger) of your left hand to do the swings. This is a point where I would like you to train, because training these three fingers will help you in fixing your balance firmly when you make the stance. This is definitely not something you want to leave out, because even by training these parts of our body, you can increase your skills in kendo effectively.
Method
When you are crouching down, hold the sword with both hands. But as soon as you hold the sword up above your head, start only using three fingers of your left hand to swing it. Make sure to grab the sword firmly, so that it won’t shake even with only three of your fingers. It’s going to be tough in the beginning, but once you get used to this, you will be able to do a better swing comfortably with both of your hands.
3.Simple Practice - The Image Training
Often times, matches in kendo come to an end very quickly. That is why we can’t leave out the image training, where you will imagine that you are in a real match.
Imagining every detail of the match will give you the opportunity to acquire the skills to better counter your opponent’s moves and objectify yourself. Your brain is the commander of your body and its movements. If you train it daily, it will automatically control your body well in real matches. Please, apply this image training in your practice sessions.
Practice 1: Imagine Yourself at Your Best Potential
In kendo, it’s very important to ‘imagine yourself at your best potential’.
It’s because, once you imagine that of yourself at the best potential and performance, it makes it that much easier for the body to move in such a way.
In order to achieve that, you have to start facing yourself like so.
Method
First, list the details of yourself at your best potential.
・Yourself outperforming at the real match
・Yourself winning the championship
・Yourself leading the team
You have to be as specific as possible in imagining yourself at your best potential in order to become one.
If you make this a daily routine, you will find yourself becoming optimistic and you will acquire a braver heart.
Practice 2: Imagine Your Arch Rival Who’s Hard to Beat
Everyone has their arch rival who knows how to take them down. It’s someone you share a bad chemistry with. You can’t always hope to avoid facing that opponent, but by imagining yourself going against that opponent, you can build up that confidence to comfortably overcome that opponent who you always had trouble handing.
Method
Imagine yourself in a match against that opponent you always struggle to manage. Which spot of your body is that opponent trying to aim for? The spot where the opponent has reached for in your imagination is the spot you think is your weakness and the point you have to train for. Doing this repetitively will help you discover your weaknesses. Then, you can focus training those parts intensively to overcome those weaknesses. I recommend this training, because this is a training that will increase your confidence.
Practice 3: Imagine the Dangerous Moments
When we say dangerous moment here, we are talking about a desperate moment where you have conceded a point to the opponent in a match and you only have 30 seconds to the match’s end. You have to imagine as specifically as possible like this.
There is a high possibility that everyone will encounter situations like this along the way. By imagining situations like that beforehand, you will be able to focus and carry out the match when you actually come across facing such a moment.
Method
List a few moments where you think you will find yourself panicking and in a serious anxiety in during a real match.
・In what state of mind will you be then?
・How can you overcome it?
・How did you win eventually?
By imagining these beforehand, you will be able to better react to the moments that require split judgments.
In kendo, split moments are enough to decide a win or lose. That is why you should put your time into this image training.
4.The Wrap-Up
How did you like it? All the things above are something you could do right now.
The person who spends time and effort on the small things will be able to achieve huge ones later. So, we have introduced to you the 9 practice methods. Start doing them by beginning with the ones you think are the easiest
